I entered the word "grateful" in Design Space and the perfect design for the muslin bags. The design has 2 layers; I ungrouped the layers and removed the bottom. I then measured the bag and arranged 4 "grateful" designs on the canvas. I trimmed the gold glitter iron-on to fit all 4 designs.
Once the elements are cut, it's time for some weeding and a little hand cutting. I used a pair of scissors to separate each design. I trimmed off the excess backing to fit on the front of the bag.
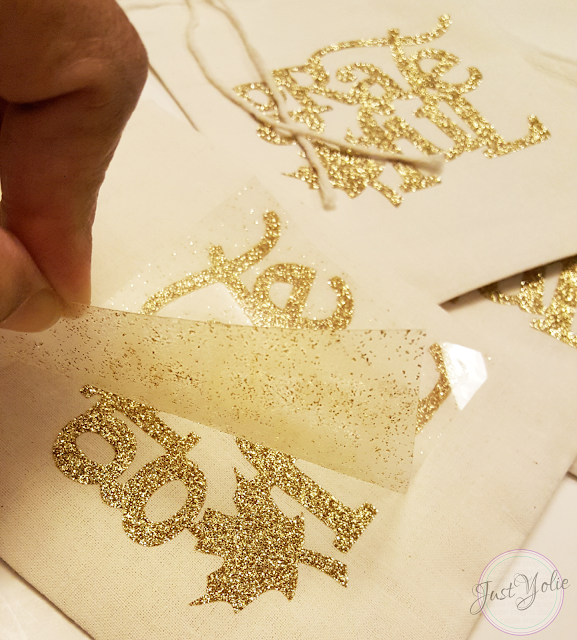
Now, preheat the iron to the highest setting. Working on hard surface works best when using a household iron. Cover the image with fabric, I use a pillow case, it's thick enough to protect the plastic and thin enough to heat set the iron-on. Then press firmly for 30 seconds. Carefully pull back the plastic. If needed, iron the back side of the fabric, but lower the iron setting to cotton or cover your design with a piece of fabric, in my case a pillow case, to avoid scorching.
I hope you enjoyed my project. Please visit again Thursday a Halloween iron-on vinyl project.
As part of the Best Creation Inc. Creative Team, I received the vinyl free, but I do have a discount for you to use. Click on the image below to shop and use the code for your savings.
Thank you for stopping by.


No comments:
Post a Comment