Saturday, March 28, 2015

DCWV & Tombow Blog Hop


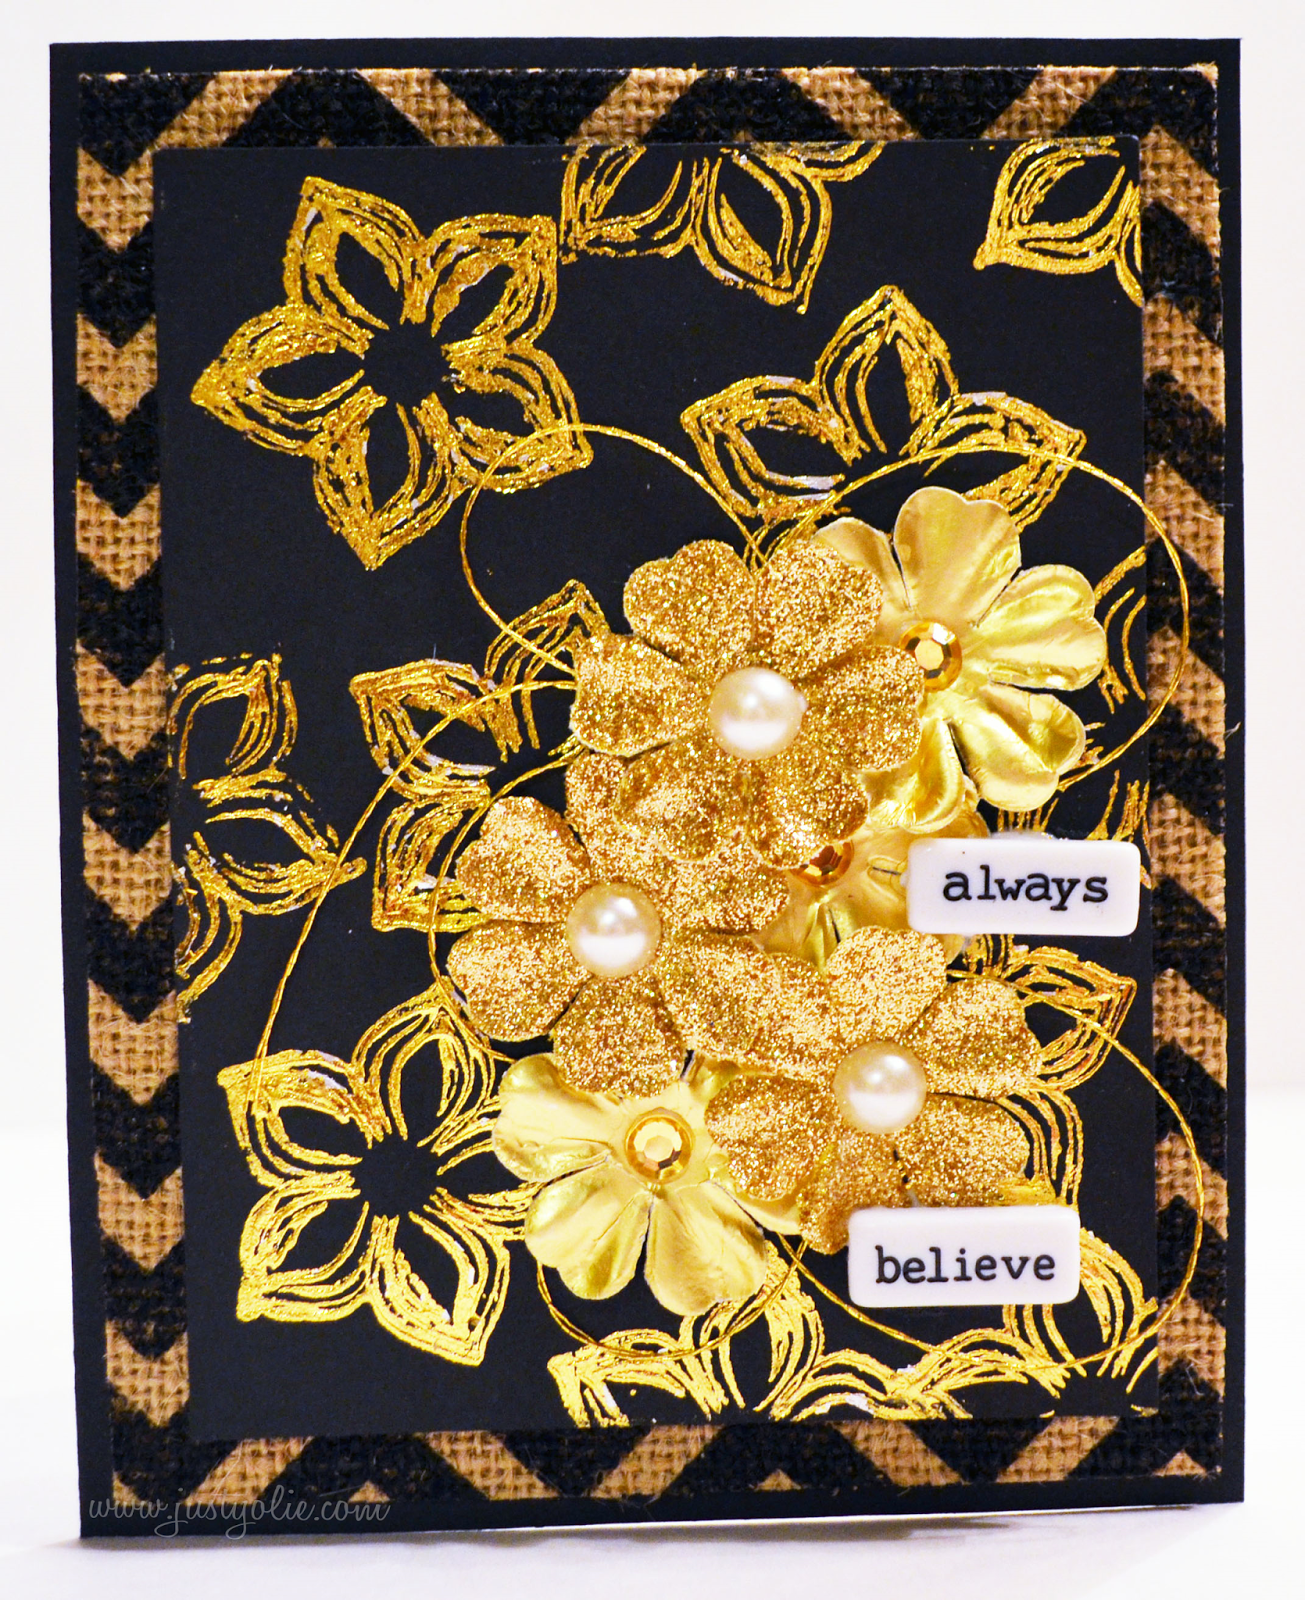
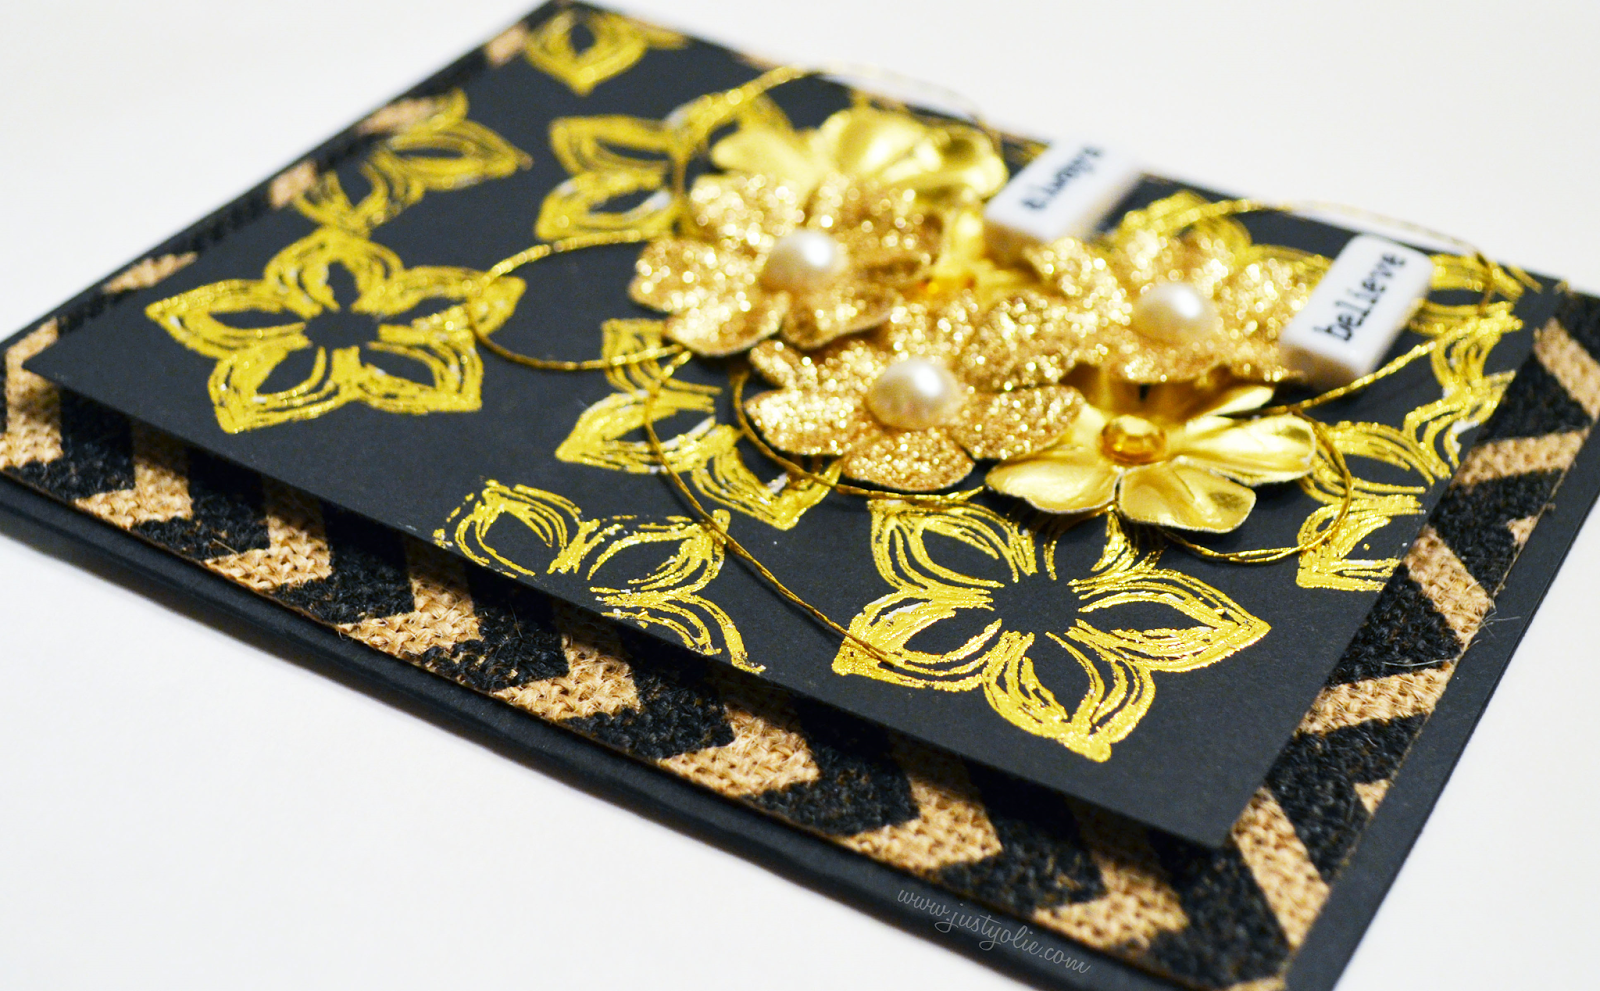
Hi and Welcome to the Gold and Cork Blog Hop with Tombow USA and DCWV! We have 2 days full with gorgeous projects using GOLD and CORK! You probably came here from Tessa's blog but if you happened to stumble across my blog go to the DCWV Blog to start!

I used DCWV Gilded Stack, DCWV Cork, Tombow Extreme Adhesive and Multi Liquid Glue to put together my mini book.  The Extreme Adhesive has a very strong bond, once the paper makes contact, it's there for good.  Here is the front cover and a few of the pages:


*GIVEAWAY*
To win, visit and comment on the participating blog posts. You have until March 31st at 11:59 EST to comment. A winner will be picked randomly and announced on April 1st 2015.
Tombow will be giving away: Tombow Xtreme Adhesive, NEW Tombow Adhesive Dots, NEW Tombow Foam Tape and everyone’s favorite the Tombow Mono Multi Liquid Glue!

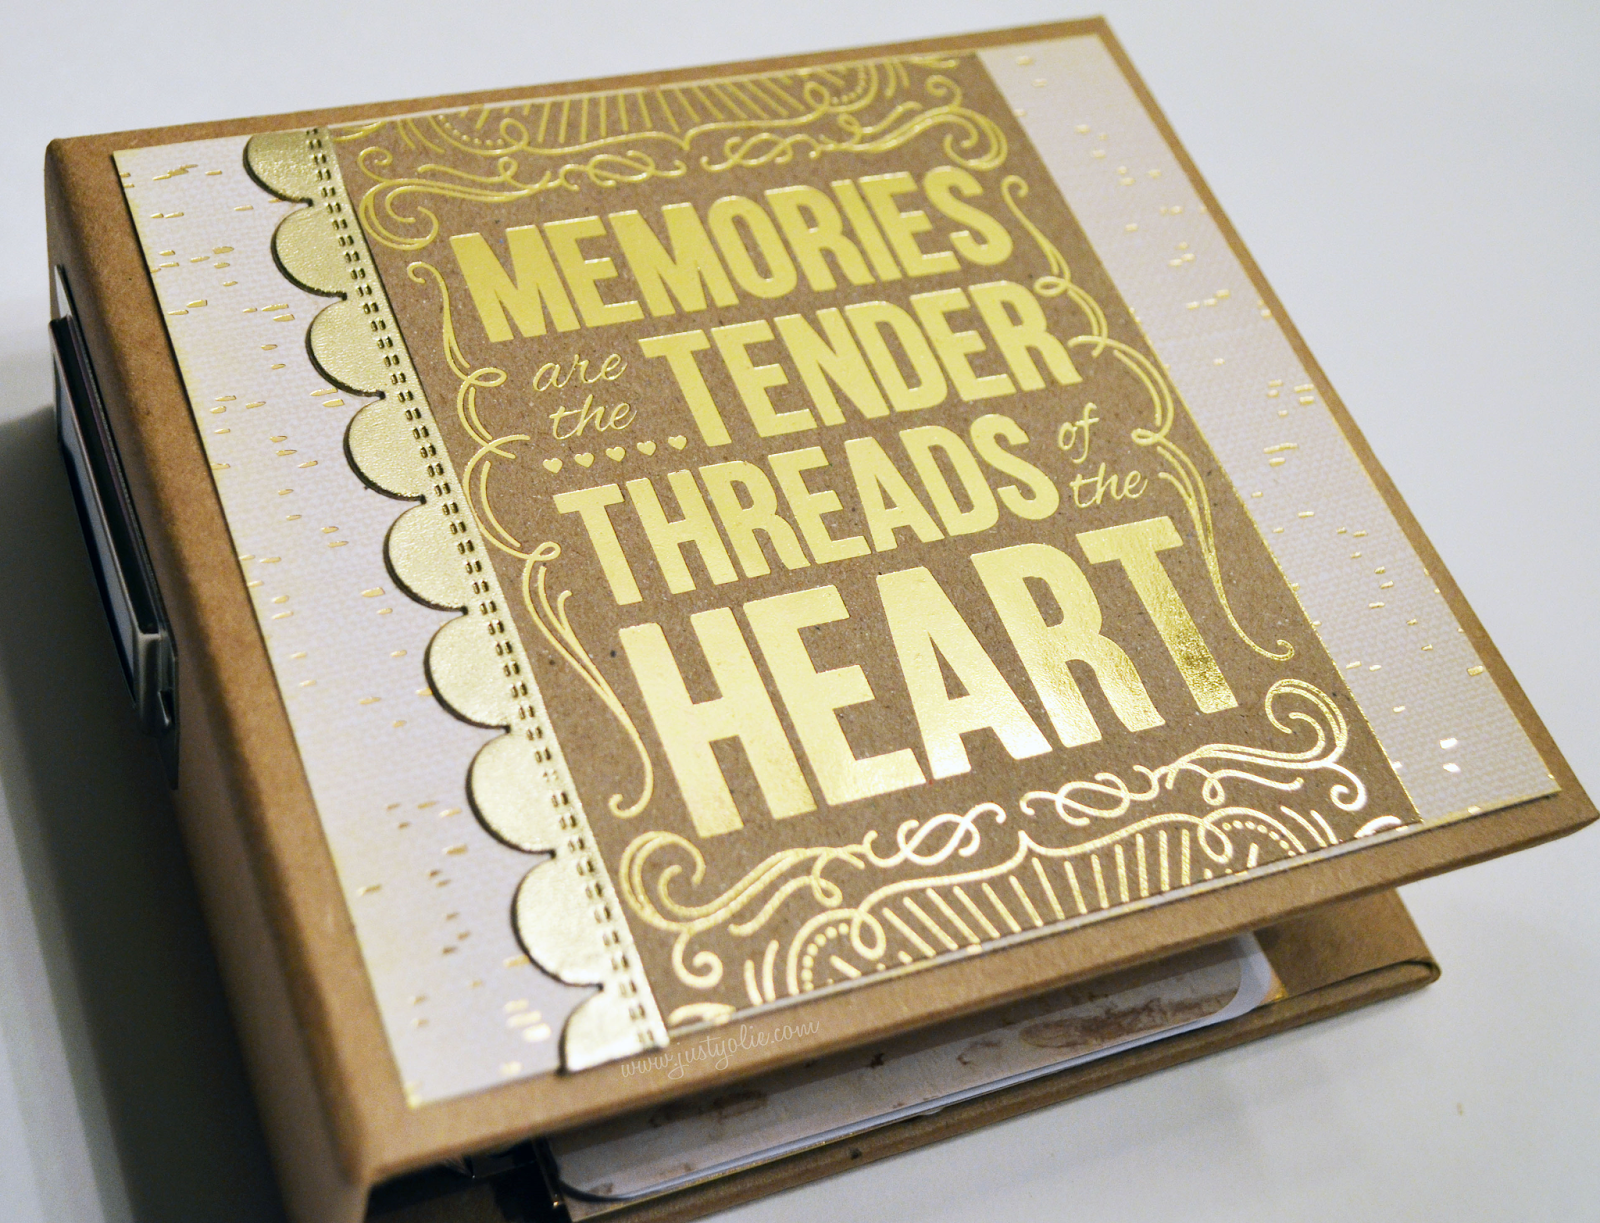
DCWV will be giving away: The DCWV Gilded Stack, a 4x4 Cork Stack, Insta Kraft Album, Accordion Album and a set of Birthday Photo Props!

Remember to “Like” Tombow USA and DCWV on Facebook.


Friday, March 27, 2015

#PinkandMain Easter Basket


Easter is one week away, how that happen??!!  Sharing adorable Lilac garden girl from Pink and Main.  Of course I created with her first, lilac....purple is my favorite color.  All of the new P & M flower girls are so cute, check them out below.

I have been enjoying cutting with my new Cricut Explore Air!  I'm so smitten with my Cricut! Beautiful cuts each time!  I entered 'basket' in the search box and came across this adorable Easter basket.  So easy to put together.  I then searched for 'doily' and found a square floral doily and don't get me started on the beautiful bows available through Cricut Design Studio!!  So pretty!!!!
All paper is from DCWV Double Sided Cardstock Stack {white core} available at Joann's.

I filled the Easter basket with "cascarones".  They are egg shells filled with confetti! I loved these as a kid....fun memories!

I colored Lilac garden girl with Spectrum Noir markers.


Thanks for stopping by today!

PRODUCTS USED:

Thursday, March 26, 2015

#LatinaCrafter Craft Kits

A couple of weeks ago I attended my first crop at Prima Marketing, did a little shopping at their outlet store and created these cards.

I used the paper, a couple of embellishments and the stamp from the Latina Crafter's February Kit.


The paper and the flower embellishments are Prima product purchased at the crop, but the sentiment is from the same kit.


This one may be my favorite card so far this year.  I am in love with the festive colors.  I used wood veneer and the sentiment from the January kit.
I am so looking forward May for the NSD Crop at Prima!  Thanks for stopping by today.


PRODUCTS USED:

Saturday, March 21, 2015

#CricutEverywhere


My first ever cuts using the NEW Cricut Explore Air!!!!  I am so happy with my new Cricut!!!  I was still using the Cricut Expression version 1 and was tempted several times to upgrade to a new machine but I never took the plunge. I couldn't justify purchasing a new one when my machine was still working!  Well, I did not purchase the Explore Air, nope, I won it at the Cricut Meet and Greet in Anaheim!!  I know right!! How lucky am I!!!!  I love it!!! I love Cricut!!
I spent all day Friday cutting.  I cut on all types of paper, intricate designs and WOW!! The cuts are divine!!!!

I love the new paper settings on the Explore: to cut the 'thank you' I used DCWV Chalk Paper, it is heavier cardstock with white core.  The swirly design was cut on DCWV Glitzy Paper, it is a thinner contained glitter paper. I used DCWV Vellum paper to cut the label....not tearing!! 
My Explore cut everything without a hitch.....no tearing!! #CricutEverywhere


A huge thank you to Cricut for hosting the Meet and Greet! Thank you so much for my NEW Explore Air!!!

Goodbye Bonnie Blue.....Hello Eréndira!!


Thanks for stopping by today!

PRODUCTS USED:

Monday, March 9, 2015

#DCWV DIY Project Stack


Spring is in the air!  Along with pollen, but I won't get into that because hay fever gets the best of me.   Instead let me share the details of my first ever paper cone wreath.   I used DCWV newest release, DIY Project Stacks: Cone Wreath.  In this stack you will find everything you need to create four seasonal cone wreaths, templates and beautiful foil vellum/Kraft paper.

First I cut all of the Spring/Easter paper. I prefer small cones than what is pictured on the stack, so I trimmed the paper in half.


I wanted the canvas to have a soft colors so I used Milk Paint by Imaginisce.  I brushed on pink, yellow and green.


While the paint dried, I created the cones and created the rosette from the star foil vellum.  This is also my first time making a rosette, super easy to make with the Scor-Pal!  The vellum paper (full sheets) included in this stack are not too thin so it won't tear easily and it's not too thick that it cracks when you fold it.

I glued down the cones to canvas using hot glue and tried my best to place in a circle.  I should have traced the template onto the canvas but in my excitement, it slipped my mind.

Here's a closer look:


Thanks for stopping by today!

PRODUCTS USED:

Friday, March 6, 2015

#DCWV DIY Project Stacks

I've been playing with DCWV's newest stacks, DIY Project Stacks: Roses. There are a total of eight NEW DIY Project Stacks now available at Joann's.  Please visit the DCWV's blog for the video product reveal of each stack.

There are three different roses you can make from the Roses Project Stack; Red Roses, TextPrint and White Shimmer Roses; it makes 12 roses of each.  I chose to the white roses.  You will need a pair of small scissors to get the perforations cuts started.

I painted a stretched white canvas (8x10) with Plaid's Glam Gold Glitter paint.  While the paint dried, I assembled the roses using hot glue.


I used DCWV Pearl Gem Stickers to the centers; below is a close up.

I hope you enjoyed my easy-to-make DIY Home Decor.  It really does look lovely in person.  The DCWV DIY Project Stacks are available at Joann's online too! Take advantage of the 50% and $1.99 shipping!


PRODUCTS USED:

Wednesday, March 4, 2015

always believe #DCWV #LatinaCrafter

I created my own gold foil background! After watching several YT tutorials, I broke out my 'vintage' YourStory laminator. First time using it. Ever!   I used the tackiest glue I had in my scrap room without running to Joann's.  Seriously, they have amazing paper crafting sales so I am trying to avoid it!  Anyway, I applied the glue to a stamp block and stamped the flower image from Latina Crafter's  La vida esta llena de bendiciones.  I waited about 30 minutes for the glue to dry.  I then cut the gold foil to cover the stamped paper and ran it through the laminator.  I waited a couple of minutes to make sure it was cool before removing the foil transfer.


There are areas where the foil did not stick. I believe it had to do with the glue.  The areas look silver instead of gold.
Here's a close up of the card. I am happy with the results, however if I do the glue stamping technique, I will use super duper tacky glue.

Additional details, I added random loops of gold jewelry thread, adhered the gold/glittery flowers with Glue Dots and added pearl/rhinestone centers.   The "always believe" are ceramic word beads I purchased at Michael's.  I cut a piece of DCWV Printed burlap and taped it down to the card base with Scor-Tape.  There you have it, my first attempt at DIY Gold Foiling.  Next on the list;  gold foiling using toner prints.


PRODUCTS USED: