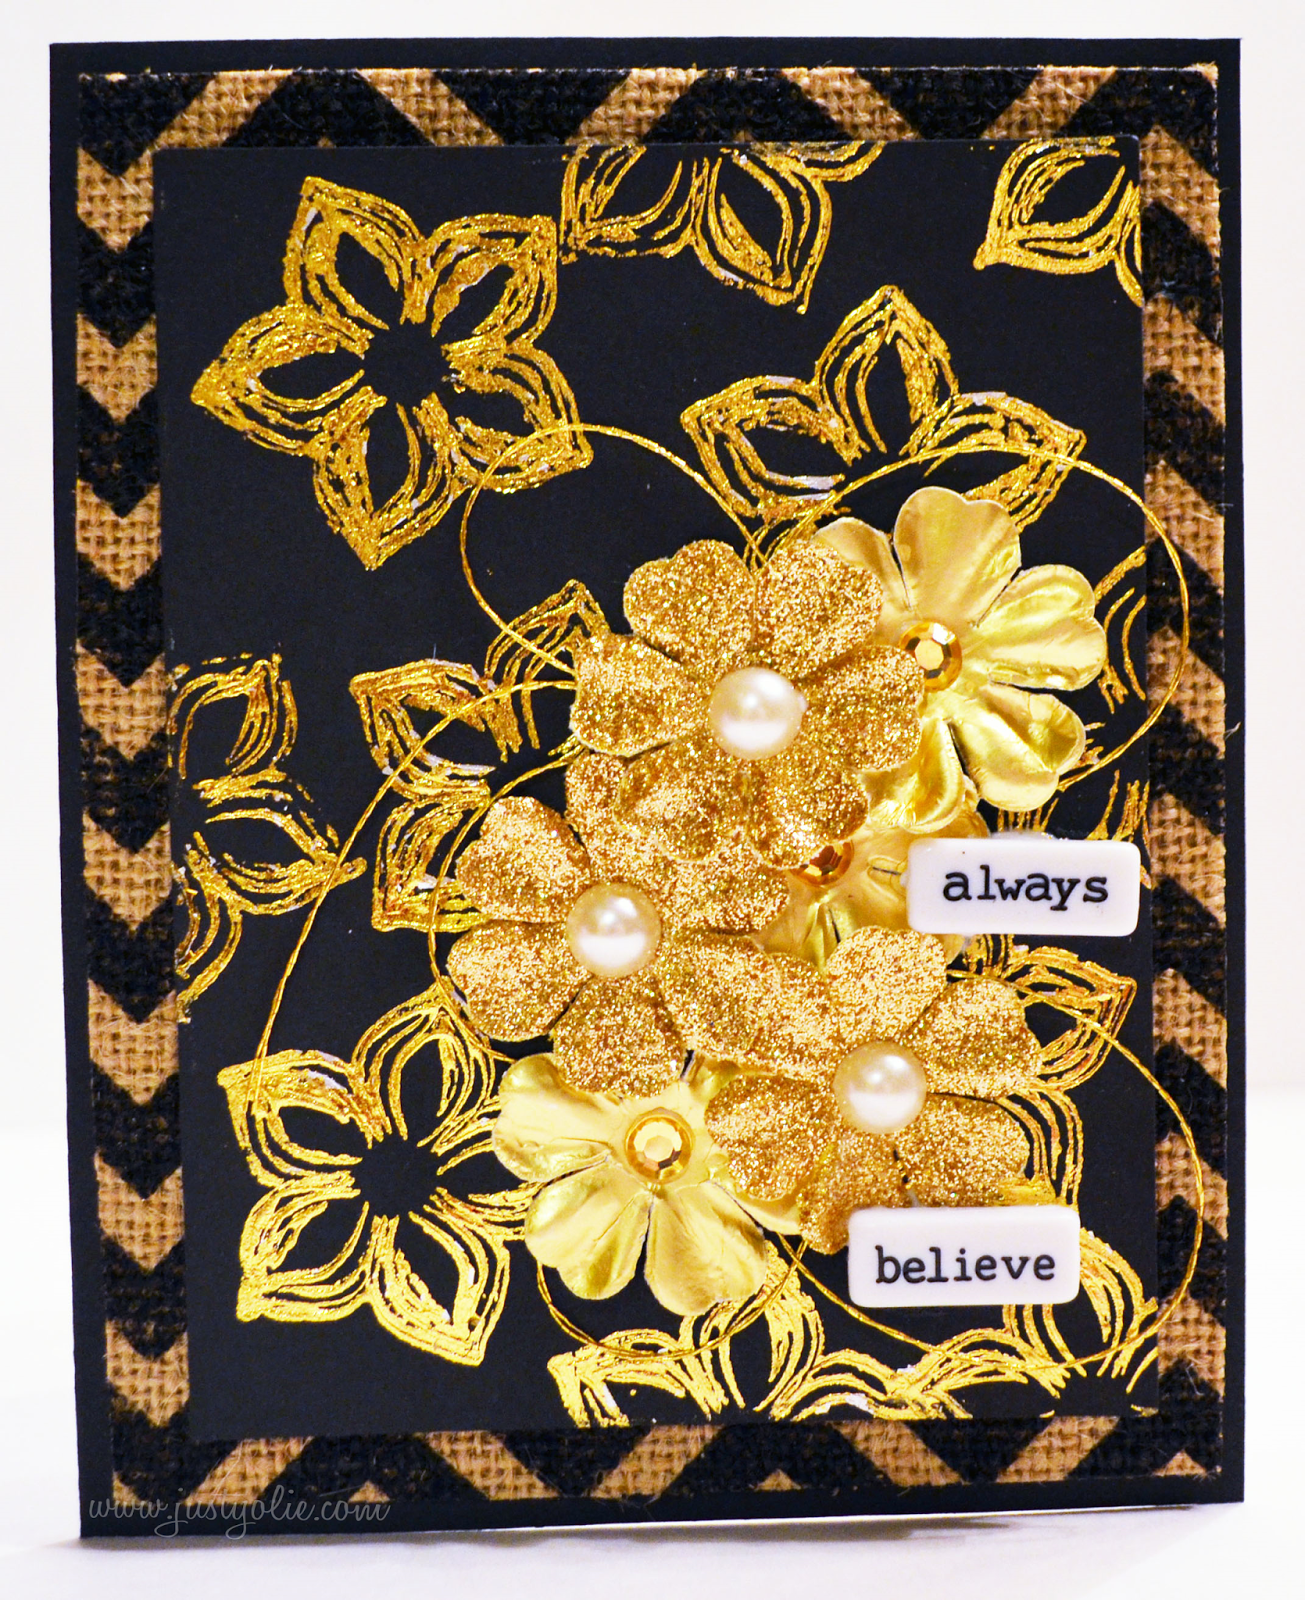
I created my own gold foil background! After watching several YT tutorials, I broke out my 'vintage' YourStory laminator. First time using it. Ever! I used the tackiest glue I had in my scrap room without running to Joann's. Seriously, they have amazing paper crafting sales so I am trying to avoid it! Anyway, I applied the glue to a stamp block and stamped the flower image from
Latina Crafter's
La vida esta llena de bendiciones. I waited about 30 minutes for the glue to dry. I then cut the gold foil to cover the stamped paper and ran it through the laminator. I waited a couple of minutes to make sure it was cool before removing the foil transfer.
There are areas where the foil did not stick. I believe it had to do with the glue. The areas look silver instead of gold.
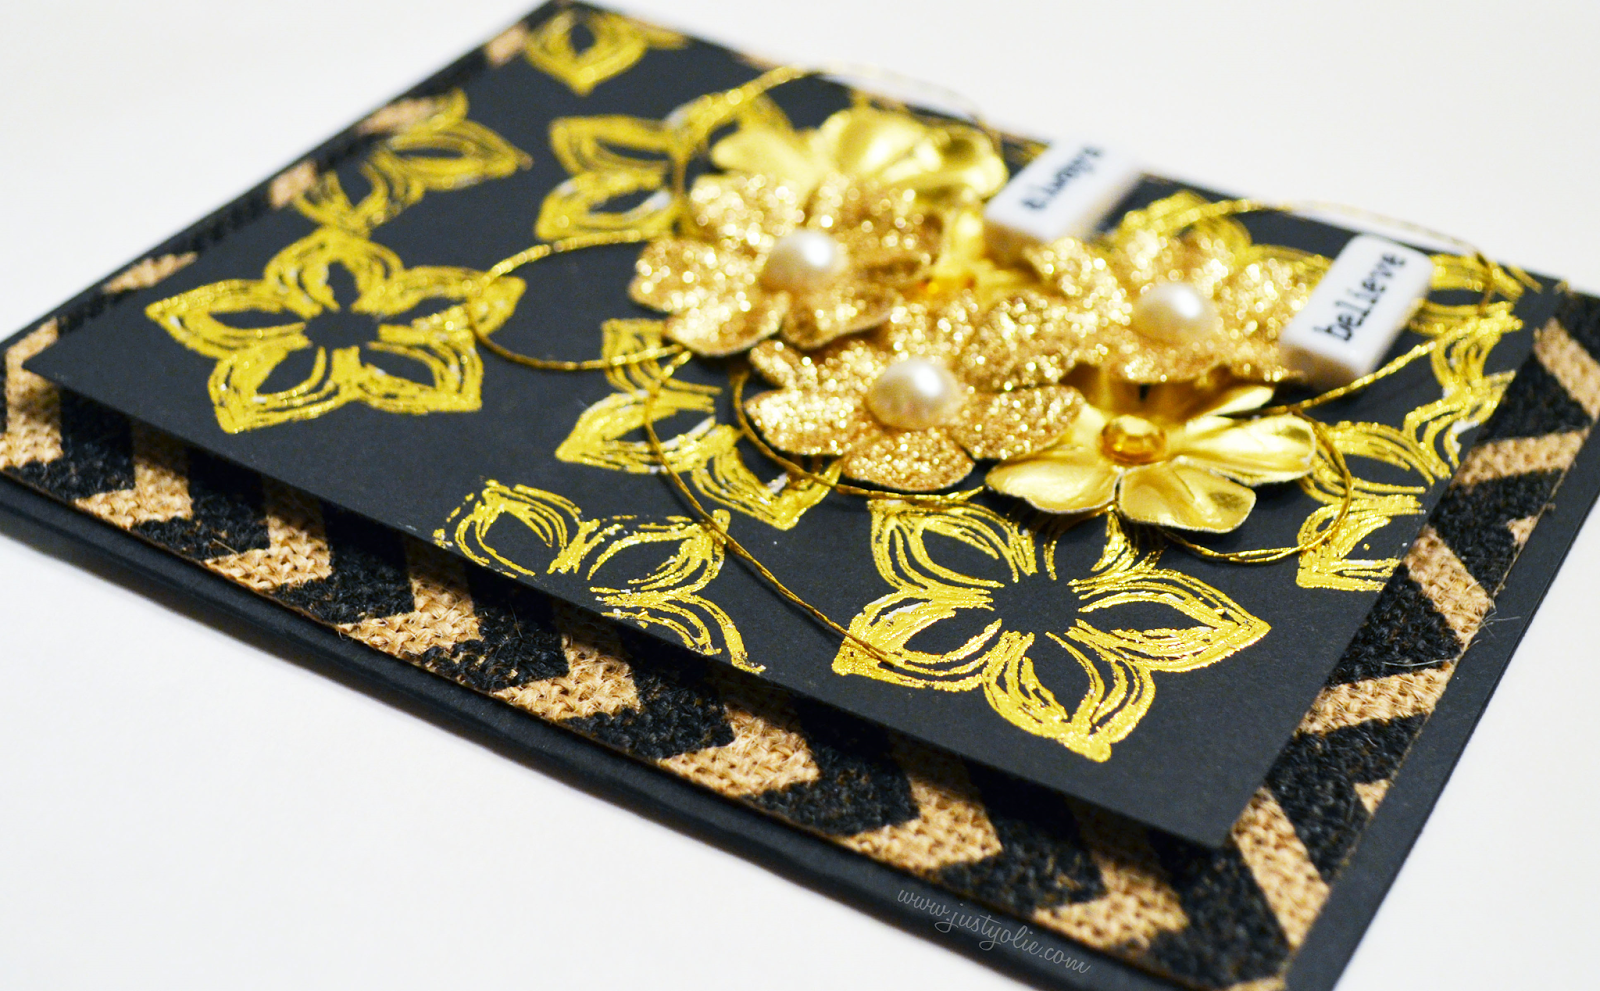
Here's a close up of the card. I am happy with the results, however if I do the glue stamping technique, I will use super duper tacky glue.
Additional details, I added random loops of gold jewelry thread, adhered the gold/glittery flowers with
Glue Dots and added
pearl/rhinestone centers. The "always believe" are ceramic word beads I purchased at Michael's. I cut a piece of
DCWV Printed burlap and taped it down to the card base with
Scor-Tape. There you have it, my first attempt at DIY Gold Foiling. Next on the list; gold foiling using toner prints.
PRODUCTS USED:


1 comment:
Absolutely GORGEOUS!!
Have a wonderful day,
Millie
Crafting With Creative M
Post a Comment