Monday, June 24, 2019

DIY Planner Storage

I have this adorable on trend ATC Bookcase to share with you today. The chipboard ATC Bookcase is from Gypsy Soul Laser Cuts, it's the perfect size to store planner goodies on your desk. The assembled measurements are 6-5/8" wide x 6-7/8" deep x 7-7/8" tall with a roomy drawer measuring (2-7/8" tall).

For starters, always remember to use a lightly damp cloth to clean off the laser cut soot on all the pieces. I went with a super trendy paper pad to alter the ATC Bookcase. The complete supply list is at the bottom of this post. I'm using one of my favorite trendy collections by The Paper Studio, Elle Oh Elle. The paper pad is "hey, girl!" with the most adorable sassy girls images.

I used acrylic paint to paint all the edges of the ATC Bookcase. I separated the drawer pieces from the actual pieces that make up the book case. It also helps to determine which pattern paper to use.

I traced and cut the pattern paper and adhered them to the pieces. I sprayed the Mod Podge Ultra Matte onto the backside of the paper. This made it so easy!
I used Beacon Power-Tac on the tabs to assemble and also to attached the drawer knob.

Here are a couple of side angle photos.

I also covered the side of the drawers for a more finished look. Super cute!

The sassy girls are not colored, I colored them with alcohol markers and they turned out so cute!
Here are a couple of close ups:

It's so pretty! I can't wait to fill it up with my favorite planner supplies.

Thank you for stopping by today and happy crafting.

Supply List: 
ATC Bookcase No. C56L
Mod Podge Ultra Matte
Acrylic Paints
The Paper Studio Hey, Girl! 12x12 pattern paper
Paint brush
Beacon Power-Tac
Westcott Scissors
Paint brush
Knob
Rhinestones
Pencil
Alcohol Markers

Thursday, June 20, 2019

Succulents Forever

Hello and welcome to my blog. Today I am sharing my Succulents Forever because I do not have a green thumb and these are perfect.

I used Crafter's Edge Beautiful Succulents Set 1 Fab Dies designed by Tammy Tutterow.  Fab Dies are made to cut up to 6 layers of fabric, cork, wool felt, leather and other media. The cutting blade is raised slightly higher than your traditional paper crafting dies. Combined with the Crossover II die cutter it's a perfect match. Since my review of the Crossover II last week, you can read it here, I have cut faux leather, fabric, glitter vinyl and now wool felt. Each time perfect cuts. Adjusting the pressure is key to perfect results.
,

Fab Dies are packaged in a easy store boxes and come with a project sheet with instructions and supply list. The dies are in sealed in a poly bag within the box.

Wool felt thickness varies from manufacturer. The wool felt I used to cut the succulent layers measured approximately 2 mm. According to the Crossover II cutting guide, Wool Felt is listed at a pressure at 7 and 2 layers. I had to remove one of the layers and ran it through the machine.
It's highly recommend that you don't force the plates through the machine, instead make sure the plates are completely out of the machine and readjust the pressure. 

I cut several layers of each color wool felt. I punched two button holes on the larger succulent layers. I straightened a large paper clip and placed the bottom layers through it. I twisted the paper clip and then secured it with a bit of hot glue.
Next, I used hot glue to assemble the other layers and finally adding them to the paper clip stem.
I inserted the floral foam into the planter and arranged the succulents.

I added sequins and a tiny bead to the centers. They are perfect. I now have Succulents Forever!  {okay, maybe not forever, but for as long as the moths don't get to them}

I sure love how they turned out. I can easily change up the colors and create pretty blooms!

Thank you for stopping by and happy crafting!

Wednesday, June 19, 2019

Rong Rong Happy Planner Traveler's Notebook

I purchased 2 of the Rong Rong® zipper pencil pouches released by The Happy Planner® for the sole purpose of altering them to make a traveler's notebook. I was only able to find one of each pattern so the fashion girls will be the front cover the multi color polka dots the inside cover.

I used a seam ripper to carefully remove the zippers and all seams. When I make fabric traveler notebooks, I usually cut 2 pieces of fabric. However since I altered pouches, I had to work with 4 pieces of fabrics.
After I pressed all pieces and sewed the stripped pieces together, then the polka dot to make 2 pieces. I pressed all the seams, then sewed the sides and the top.

I inserted a stabilizer and then sewed the bottom and added the top stitch. There is a seam along the spine that normally wouldn't be there. So I added the elastic closure to the back side of the traveler's notebook. 

The finished size is very close to a B6, my preferred size.

Here you see how the inside looks. I added 2 standard B6 inserts with room for 2 more.


I prefer a B6 traveler's notebook. I thought of making a smaller one, but because of the proportions of the fashion girls, I would lose them. Leaving at the most 2 complete fashion girls.

I love how it turned out and now I have a Rong Rong® Traveler's Notebook to match my Happy Planner®! So excited!

Thanks for visiting and happy planning!

Thursday, June 13, 2019

Crafter's Edge Crossover II Fabric & Paper Cutter - Product Review

I shared a teaser of my upcoming review for the Crossover II by Crafter's Edge on social media.Well, here it is. The Crossover II is a manual die cutter for a variety of materials and the following is my honest review.

The Crossover II, has adjustable rollers that means adjustable pressure settings. No more shims. No more double passes to get a cut. It cuts multiple layers of fabric in one passing. Following the setting guide in the instruction booklet is important to perfect cuts. The Crossover II is a well designed and well built die cutter. 

Let's start with the unboxing. It was shipped in a double-wall corrugated box and shipping was fast. Delivery took just a few days from Arizona to California. One thing I need to note this is a heavy duty die cutter and the box is heavy.

Once I removed the retail box, the Crossover II and plates were nicely nestled in sturdy packaging foam. The machine itself weighs approximately 23lbs. getting a good grip of the carrying handles was key in removing it from the packaging. Next, I removed the cardboard from the handle, then pull on the button towards the machine to release the white grip handle. The grip handle folds down for easy transport or storage.

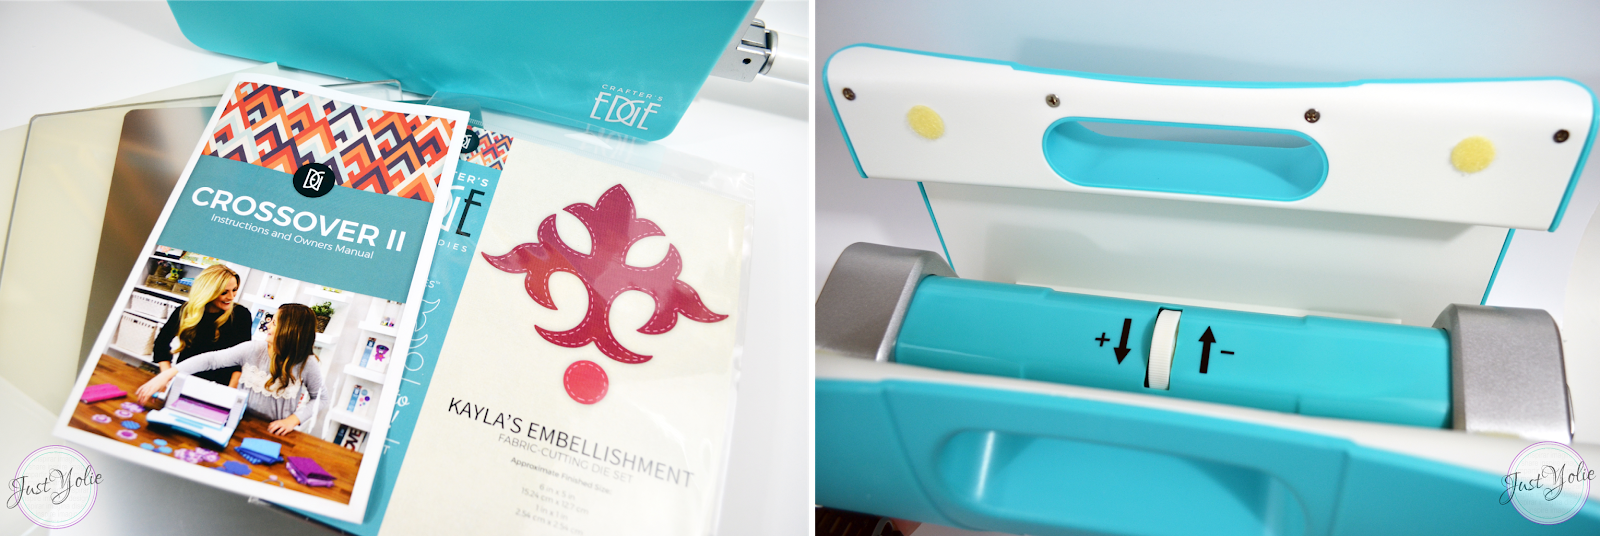
The Crossover II comes with one decorative Fab die, Kayla's Embellishment set, plates and instruction booklet. The the Base and Clear plates both measure 11" x 12". The Metal adaptor plate is the small size, measuring 8" x 10".  A larger Metal adaptor plate (10.75" x 11.5") is available to purchase separately.

The sides of the die cutter are secured with strong Velcro, that's the yellowish dots you see on the inside panel. The adjustable pressure setting dial is on top with arrows pointing + -

With the sides open and laying flat on your work surface, the Crossover II measures approximately
20.75"l x 12"w  x 7" h
The sides create a platform for the plates to sit on once they go through the machine. This is a plus for me, I don't have to worry about the plates sliding off, dies and material falling over.


Let's talk about the Fab dies. I immediately noticed the weight of the metal die and the higher raised blade. The Fab dies are meant to cut all types of fabric and in multiple layers. The quality is on point! Crafter's Edge has plenty of designs from appliques, quilting and English paper piecing dies.

Following the pressure setting is so important to achieve a perfect cut. For my first project, I used faux leather. I followed the pressure setting guide by first finding the faux leather listed under Media. Next column is the Setting followed by the number layers.
Please note: the rollers of the machine are visible. If crafting with little ones or around pets, please be careful with little hands or paws.

I adjusted the roller pressure setting to 7 and next is the sandwich:
1. White Base plate
2. Metal adaptor plate
3. Faux leather
4. Fab die with blade facing down
5. Clear plate
6. Run it through the Crossover II

One passing. One beautiful cut. I was expecting to really put some muscle into cranking the handle. There was some light pressure however, the machine is the muscle. It's a work horse. I was pleasantly surprise to see that it did in fact cut through the faux leather in one passing.

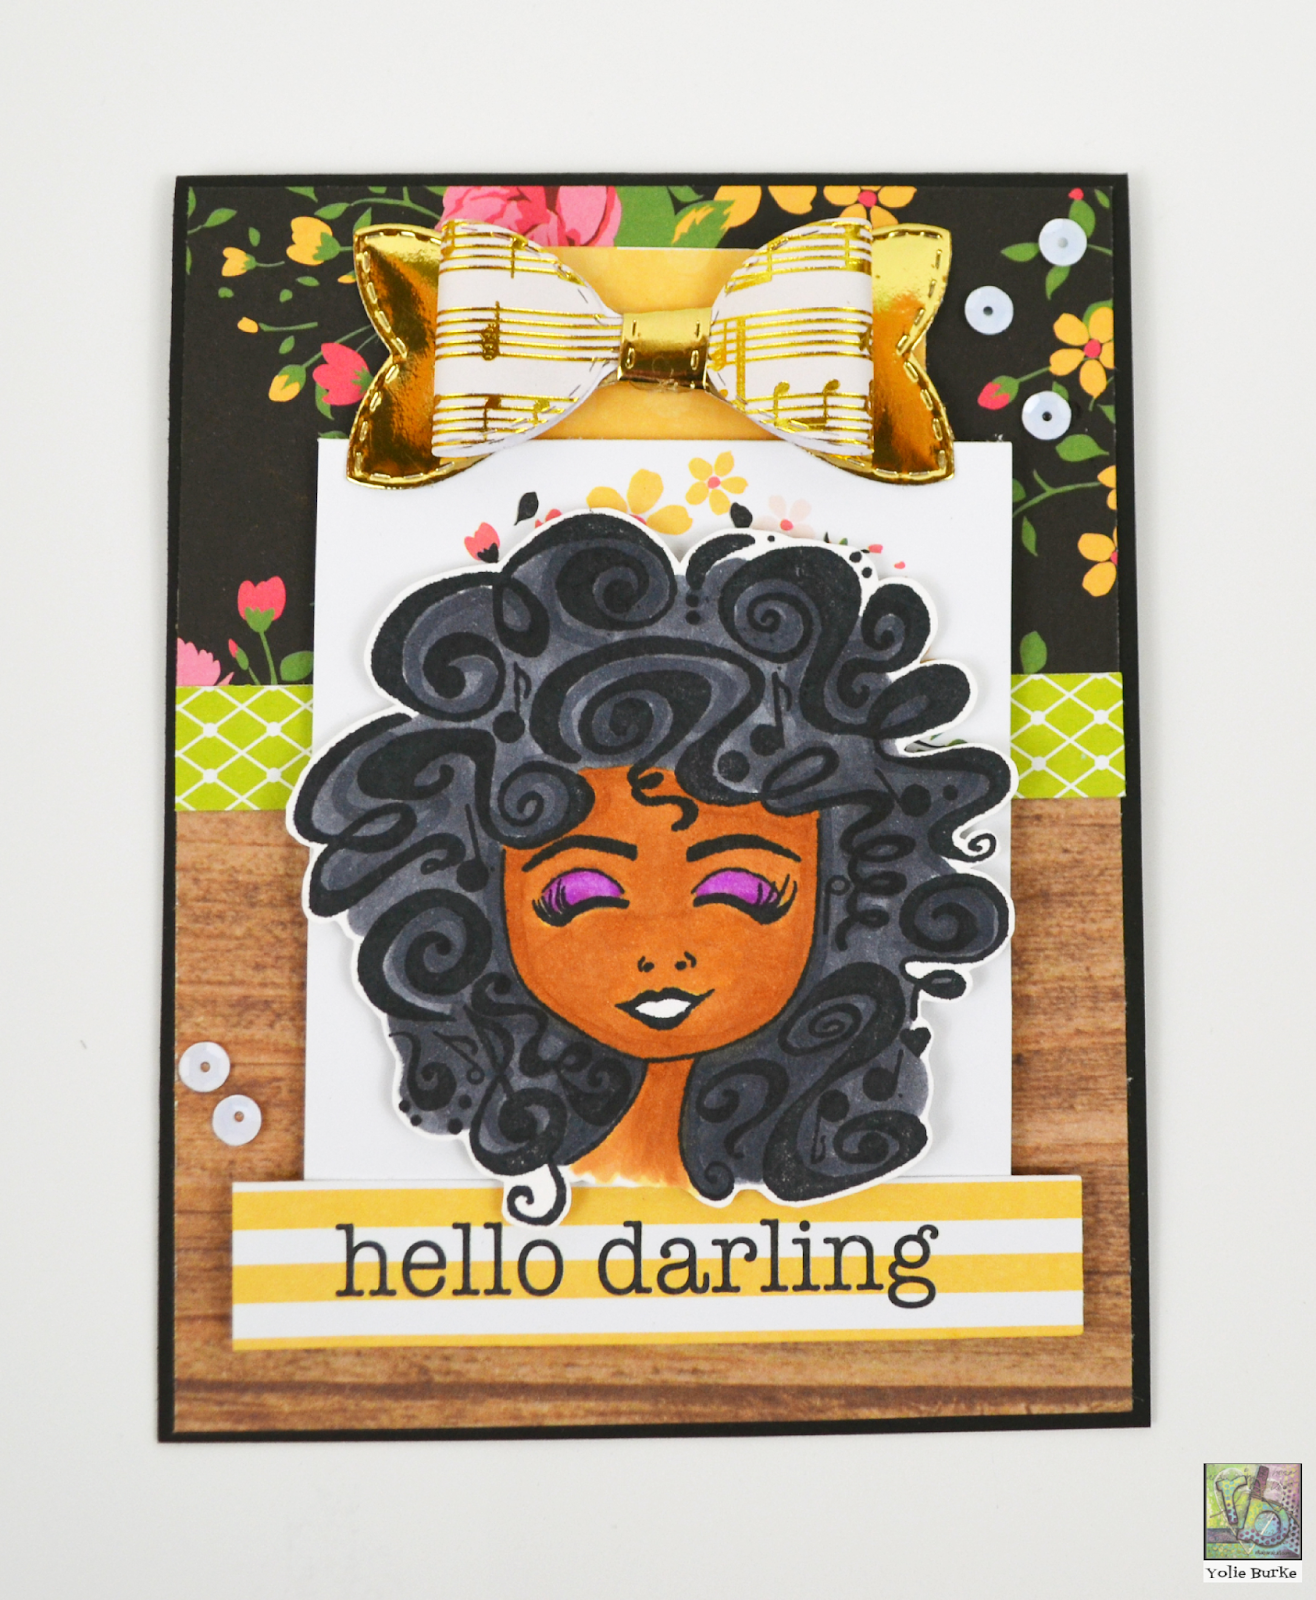
I created a faux leather folio. I used the sheets of faux leather, glued them with Beacon Adhesives Power-Tac. I then glued the die cuts onto the front cover. I used strands of jute to create a braided closure.

I also added side pockets and another Kayla's Embellishment die cut to the front cover of the notebook.


My final thoughts. I highly recommend the Crossover II. The adjustable pressure setting is pretty amazing. The ease of running the plates through the machine was a major plus for me. You can also use your existing wafer dies and steel rule dies following the cutting guide. I noted the measurements when fully opened at approximately 20.75"l x 12"w  x 7" h . It will take up some table space. If transporting it to workshops, it is has some weight to it at 23lbs. However, keep in mind it is an extremely well made machine. Crafter's Edge offers a 2 year warranty along with great customer service.

If you're currently on the market for a manual die cutter, I hope this review helps in your decision making. Please enjoy 20% off your online purchase at Crafter's Edge along with free shipping with your order of $75 or more.

Thank you for visiting and please come back soon for another Crossover II project.


Hello Darling #RitaBarakat

Hello Darling! I have a quick and easy layered card to share with you today. I used Rita Barakat's Sing rubber stamp. I also found an older DCWV stack with adorable prints.

I stamped Sing with black Memento ink and colored her with alcohol markers. I then used Westcott non-stick scissors to fussy cut.

I used a paper trimmer to cut all the layers, assembled and adhered it all with Scrapbook Adhesives tape runner. I used a printed sentiment from the paper pad, hello darling that went perfectly with Sing.

I used foam dots to adhere Sing and then added a musical foiled bow and sequins to finish off the card. She's adorable!
That purple eye shadow is everything! Love my Sing! Thank you for visiting today, happy crafting!

Monday, June 10, 2019

Decorative Screen #GypsySoulLaserCuts

So excited to share my Gypsy Soul Laser Cuts project with you today. I used the Decorative Screen and Wood Medallions set. Inspired by the colors of Rita Barakat's, Midnight Magic mixed media embossing powder. You will see the embossing powder in the photos below, but first let's get started with the Decorative Screen.


First, with a damp paper towel I cleaned off the soot residue left behind by the laser cutter. Then I took the blue acrylic paint and I applied one coat to each panel and allowed to dry.

Applying the next three colors were the same technique; apply the paint with a dry brush sporadically, before it dried, I removed some of the paint with a paper towel. The paint colors are listed below.

I purchased 3/4" x 11/16" hinges from my local hardware store. I painted the hinges first with black chalk paint. Using a toothpick, I applied Power-Tac adhesive to the backside of the hinges. After the glue dried, I lightly painted them with brown acrylic paint for rust look.

So here is the color inspiration. It's from a mixed media heavy embossing powder made by Emerald Creek for Rita Barakat. It is called Midnight Magic and get this, it glows in the dark.
I applied a heavy coat of embossing ink and dusted the Wood Medallions with the embossing powder.

Here are the acrylic paints used. What do you think? Did I match up the colors to coordinate with the embossing powder?


Here is my Decorative Screen, it stands at 8" and is 15" width. It's gorgeous!

It folds nicely enough for storage.

Inspiration is everywhere! Look, get inspired and create!
I hope you enjoyed my tutorial and the final results. Enjoy your week and keep it crafty.
Supply List:
Decorative Screen No. D21F
Wood Medallions  No. D106E
Plaid Crafts paints: Look At Me Blue, Melted Chocolate, Midnight, Black Chalk Paint
Rita Barakat Midnight Magic Embossing Powder by Emerald Creek
Beacon Power-Tac adhesive
Hinges
Paint brushes
Heat Gun
Versamark Embossing Ink

Paper towels

Tuesday, June 4, 2019

Rita Barakat & Style Tech Craft Blog Hop

Welcome to the Rita Barakat and StyleTech Craft Blog Hop. We hope you are enjoying the inspiration today, there is still more to see so let's get started.
I used Rita's latest die cuts, Marvelous Mermaids available through her Etsy shop. Deciding which mermaids and vinyl to use may have taken longer than the actual project. Seriously beautiful mermaids and some super fun StyleTech Craft vinyl.


I used metal die to cut the shapes needed to decorate small treat bags. I used StyleTech Craft's Texture vinyl, super gorgeous tapestry in royal blue and Ultra Metallic Gold.

I die cut the frame and used the transfer tape to help with placement. Before I transferred the vinyl onto the gift bag, I placed the inside of the frame in the Texture vinyl onto the transfer tape. I then transferred both pieces of the frame at once onto the front of the treat bag.

I also trimmed the extra white around the Marvelous Mermaids for a more finished look.

I die cut the treat bags on card stock and assembled them. I used Scrapbook Adhesives foam dots to adhere the Marvelous Mermaids.

I die cut a tag shape on vellum and then stamped the sentiment "she was wild as the sea". In this closeup you can see the gorgeous detail of the Marvelous Mermaids and the Texture Tapestry on the vinyl. Love it!

Please leave a comment below and don't forget to comment at each stop to be entered in the giveaway.
Your next stop is Michelle. Thanks for hopping along.