It's time for back-to-school shopping. That means sorting through clothes, book bags and fresh school supplies, my favorite. Today I am sharing a super quick and fun tote bag. I used Crafter's Edge Crossover II and the Mama & Baby Owl Fab Die set.
The Mama & Baby Owl die set is the cutest. I sorted through the pieces and decided the Baby Owl was the perfect size for the bag.
I gathered and trimmed some iron-on fabric scraps from a previous project. After adjusting the pressure on the Crossover II, I was able to die cut all the pieces in one passing. Easy peasy!
I used the Cricut Easy Press to iron-on the owl pieces onto the tote bag. I first pressed the larger owl shape for 10 seconds, followed by the smaller pieces leaving the glitter iron-on last for a total of 30 seconds pressing time.
Next it was time to choose her googly eyes.
Since this is a tote and will not get washed, I'm not overly concern about appliqueing the owl. if I were placing it on a shirt, I would have definitely appliqué to avoid fraying.
The tote turned out so cute and loving her adorable bow and googly eyes. Thank you for visiting today and happy crafting.
Thursday, July 25, 2019
Tuesday, July 9, 2019
Rita Barakat & Faber-Castell Blog Hop
My favorite day of the month, BLOG HOP time! Today Rita Barakat's Design Team is featuring Faber-Castell products. I got to play with their Gelato Mixed Media kit! The kit has 10 yummy Gelato colors and everything you need to create some fun mixed media pieces.
I created the backgrounds and used several of Rita Barakat's ephemera available in her Etsy shop.
For this card I used the Flamingo die cut from the Mystical Creatures collection. I used the foil paper and image transfers included in the kit. Although this paper is not watercolor paper, it still held up pretty well water colored the Gelatos. I was just careful not over saturated the paper.
Up next, I used one of the fairies from The Veil of the Fairies collection. I used the Gelatos on black embossed background. After coloring in the embossed image, I covered half with the white gesso from the kit. I waited for it to dry completely, added colored it with Gelatos and then stamped the it with the script rubber stamp from the kit. This kit is seriously loaded!
This card was super fun to create! I used the corrugated media, added gesso, rubbed on the Gelato and then used the stencil included in the kit. I also stamped the script on the back ground. The cute cowgirl is from Rita's Wild and Free collection.
Last but not least, is this gorgeous mermaid from Marvelous Mermaid collection. I stenciled the background and rubbed on the Gelatos for a fun under-the-sea mermaid colors!
I had loads of fun playing with Faber-Castell's Gelatos Mixed Media kit! I hope you enjoyed my cards.
I created the backgrounds and used several of Rita Barakat's ephemera available in her Etsy shop.
For this card I used the Flamingo die cut from the Mystical Creatures collection. I used the foil paper and image transfers included in the kit. Although this paper is not watercolor paper, it still held up pretty well water colored the Gelatos. I was just careful not over saturated the paper.
Up next, I used one of the fairies from The Veil of the Fairies collection. I used the Gelatos on black embossed background. After coloring in the embossed image, I covered half with the white gesso from the kit. I waited for it to dry completely, added colored it with Gelatos and then stamped the it with the script rubber stamp from the kit. This kit is seriously loaded!
This card was super fun to create! I used the corrugated media, added gesso, rubbed on the Gelato and then used the stencil included in the kit. I also stamped the script on the back ground. The cute cowgirl is from Rita's Wild and Free collection.
Last but not least, is this gorgeous mermaid from Marvelous Mermaid collection. I stenciled the background and rubbed on the Gelatos for a fun under-the-sea mermaid colors!
I had loads of fun playing with Faber-Castell's Gelatos Mixed Media kit! I hope you enjoyed my cards.
Monday, July 8, 2019
Festive DIY Notecards
How about some colorful cards to brighten up your day? Today I'm sharing a set of note cards using Gypsy Soul Laser Cuts Texture Sheets Fiesta.
I used a scissors to cut the banners and a border from the Texture Sheets Fiesta. I gathered paints and fun fiesta pattern paper with bright colors to match.
I trimmed the banners and the border to approximately 4" wide. I used white acrylic paint as primer and painted the pieces in green, blue and pink.
I used a Latina Crafter metal word die "celebra" which means celebrate. I cut the word on both card stock and craft foam.
I assembled the cards adding lots of layers and rhinestone ribbon.
Each finished card measures 4.25" x 5" and are blank inside. They are perfect for any celebration and the fun patterns with bright colors are so festive! I hope you enjoyed my fun trio today. I hope you have a wonderful week and keep it crafty.
Supply List:
Decorative Screen No. D91B
Plaid Crafts paints
Latina Crafter celebra die
Beacon Power-Tac adhesive
Pattern paper
Paint brush
Craft foam
Cardstock
Doilies
Rhinestone ribbon
I used a scissors to cut the banners and a border from the Texture Sheets Fiesta. I gathered paints and fun fiesta pattern paper with bright colors to match.
I trimmed the banners and the border to approximately 4" wide. I used white acrylic paint as primer and painted the pieces in green, blue and pink.
I used a Latina Crafter metal word die "celebra" which means celebrate. I cut the word on both card stock and craft foam.
I assembled the cards adding lots of layers and rhinestone ribbon.
Each finished card measures 4.25" x 5" and are blank inside. They are perfect for any celebration and the fun patterns with bright colors are so festive! I hope you enjoyed my fun trio today. I hope you have a wonderful week and keep it crafty.
Supply List:
Decorative Screen No. D91B
Plaid Crafts paints
Latina Crafter celebra die
Beacon Power-Tac adhesive
Pattern paper
Paint brush
Craft foam
Cardstock
Doilies
Rhinestone ribbon
Monday, June 24, 2019
DIY Planner Storage
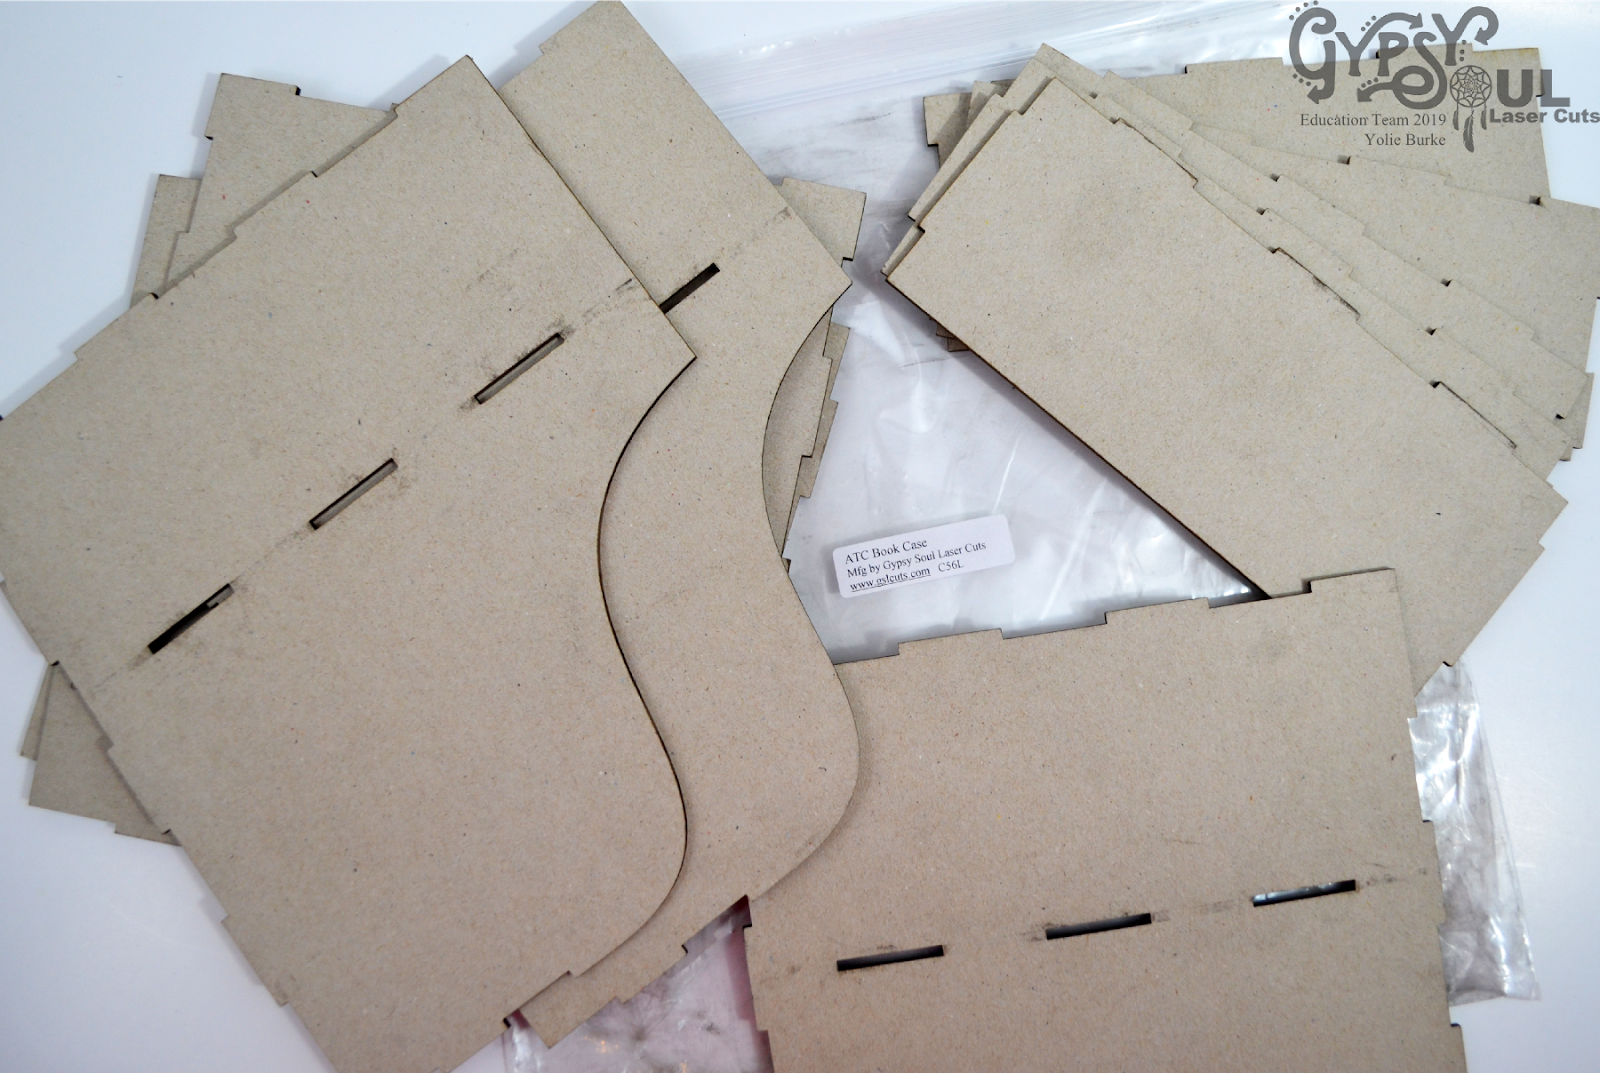
I have this adorable on trend ATC Bookcase to share with you today. The chipboard ATC Bookcase is from Gypsy Soul Laser Cuts, it's the perfect size to store planner goodies on your desk. The assembled measurements are 6-5/8" wide x 6-7/8" deep x 7-7/8" tall with a roomy drawer measuring (2-7/8" tall).
For starters, always remember to use a lightly damp cloth to clean off the laser cut soot on all the pieces. I went with a super trendy paper pad to alter the ATC Bookcase. The complete supply list is at the bottom of this post. I'm using one of my favorite trendy collections by The Paper Studio, Elle Oh Elle. The paper pad is "hey, girl!" with the most adorable sassy girls images.
I used acrylic paint to paint all the edges of the ATC Bookcase. I separated the drawer pieces from the actual pieces that make up the book case. It also helps to determine which pattern paper to use.
I traced and cut the pattern paper and adhered them to the pieces. I sprayed the Mod Podge Ultra Matte onto the backside of the paper. This made it so easy!
I used Beacon Power-Tac on the tabs to assemble and also to attached the drawer knob.
Here are a couple of side angle photos.
I also covered the side of the drawers for a more finished look. Super cute!
The sassy girls are not colored, I colored them with alcohol markers and they turned out so cute!
Here are a couple of close ups:
It's so pretty! I can't wait to fill it up with my favorite planner supplies.
Thank you for stopping by today and happy crafting.
Supply List:
ATC Bookcase No. C56L
Mod Podge Ultra Matte
Acrylic Paints
The Paper Studio Hey, Girl! 12x12 pattern paper
Paint brush
Beacon Power-Tac
Westcott Scissors
Paint brush
Knob
Rhinestones
Pencil
Alcohol Markers
For starters, always remember to use a lightly damp cloth to clean off the laser cut soot on all the pieces. I went with a super trendy paper pad to alter the ATC Bookcase. The complete supply list is at the bottom of this post. I'm using one of my favorite trendy collections by The Paper Studio, Elle Oh Elle. The paper pad is "hey, girl!" with the most adorable sassy girls images.
I used acrylic paint to paint all the edges of the ATC Bookcase. I separated the drawer pieces from the actual pieces that make up the book case. It also helps to determine which pattern paper to use.
I traced and cut the pattern paper and adhered them to the pieces. I sprayed the Mod Podge Ultra Matte onto the backside of the paper. This made it so easy!
I used Beacon Power-Tac on the tabs to assemble and also to attached the drawer knob.
Here are a couple of side angle photos.
I also covered the side of the drawers for a more finished look. Super cute!
The sassy girls are not colored, I colored them with alcohol markers and they turned out so cute!
Here are a couple of close ups:
It's so pretty! I can't wait to fill it up with my favorite planner supplies.
Thank you for stopping by today and happy crafting.
Supply List:
ATC Bookcase No. C56L
Mod Podge Ultra Matte
Acrylic Paints
The Paper Studio Hey, Girl! 12x12 pattern paper
Paint brush
Beacon Power-Tac
Westcott Scissors
Paint brush
Knob
Rhinestones
Pencil
Alcohol Markers
Thursday, June 20, 2019
Succulents Forever
Hello and welcome to my blog. Today I am sharing my Succulents Forever because I do not have a green thumb and these are perfect.
I used Crafter's Edge™ Beautiful Succulents Set 1 Fab Dies designed by Tammy Tutterow. Fab Dies are made to cut up to 6 layers of fabric, cork, wool felt, leather and other media. The cutting blade is raised slightly higher than your traditional paper crafting dies. Combined with the Crossover II die cutter it's a perfect match. Since my review of the Crossover II last week, you can read it here, I have cut faux leather, fabric, glitter vinyl and now wool felt. Each time perfect cuts. Adjusting the pressure is key to perfect results.
Fab Dies are packaged in a easy store boxes and come with a project sheet with instructions and supply list. The dies are in sealed in a poly bag within the box.
Wool felt thickness varies from manufacturer. The wool felt I used to cut the succulent layers measured approximately 2 mm. According to the Crossover II cutting guide, Wool Felt is listed at a pressure at 7 and 2 layers. I had to remove one of the layers and ran it through the machine.
It's highly recommend that you don't force the plates through the machine, instead make sure the plates are completely out of the machine and readjust the pressure.
I cut several layers of each color wool felt. I punched two button holes on the larger succulent layers. I straightened a large paper clip and placed the bottom layers through it. I twisted the paper clip and then secured it with a bit of hot glue.
Next, I used hot glue to assemble the other layers and finally adding them to the paper clip stem.
I inserted the floral foam into the planter and arranged the succulents.
I added sequins and a tiny bead to the centers. They are perfect. I now have Succulents Forever! {okay, maybe not forever, but for as long as the moths don't get to them}
I sure love how they turned out. I can easily change up the colors and create pretty blooms!
Thank you for stopping by and happy crafting!
I used Crafter's Edge™ Beautiful Succulents Set 1 Fab Dies designed by Tammy Tutterow. Fab Dies are made to cut up to 6 layers of fabric, cork, wool felt, leather and other media. The cutting blade is raised slightly higher than your traditional paper crafting dies. Combined with the Crossover II die cutter it's a perfect match. Since my review of the Crossover II last week, you can read it here, I have cut faux leather, fabric, glitter vinyl and now wool felt. Each time perfect cuts. Adjusting the pressure is key to perfect results.
Fab Dies are packaged in a easy store boxes and come with a project sheet with instructions and supply list. The dies are in sealed in a poly bag within the box.
Wool felt thickness varies from manufacturer. The wool felt I used to cut the succulent layers measured approximately 2 mm. According to the Crossover II cutting guide, Wool Felt is listed at a pressure at 7 and 2 layers. I had to remove one of the layers and ran it through the machine.
It's highly recommend that you don't force the plates through the machine, instead make sure the plates are completely out of the machine and readjust the pressure.
I cut several layers of each color wool felt. I punched two button holes on the larger succulent layers. I straightened a large paper clip and placed the bottom layers through it. I twisted the paper clip and then secured it with a bit of hot glue.
Next, I used hot glue to assemble the other layers and finally adding them to the paper clip stem.
I inserted the floral foam into the planter and arranged the succulents.
I added sequins and a tiny bead to the centers. They are perfect. I now have Succulents Forever! {okay, maybe not forever, but for as long as the moths don't get to them}
I sure love how they turned out. I can easily change up the colors and create pretty blooms!
Thank you for stopping by and happy crafting!
Subscribe to:
Posts (Atom)


,