Friday, August 19, 2016

Trick or Treat with the #eBrush

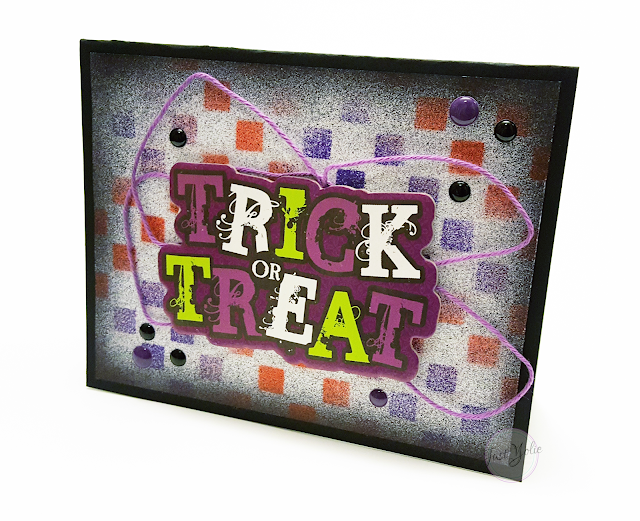
I have a super duper quick Halloween card to share today.  Here we go:

I used Prima's checkered stencil and Sharpies with the eBrush on white card stock.  I set the eBrush to the 2nd setting, alternating colors. 
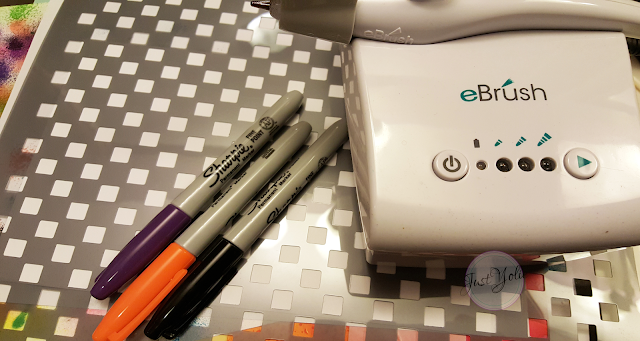

My Halloween tote is front and center in my craft room, actually it's by the doorway because there is no room on my craft table.  Keepin' it real.  Anyway,  I went through my stash and found a pack of chipboard, I paid .20 for it a few years ago. Remember, I have hoarding skills.
I added the "trick or treat" chipboard and added purple twine behind it.   Surprisingly, the adhesive was still had a strong bond.
I then embellished with black and purple enamel dots.

That's it, quick and easy Halloween card.
Thanks for visiting.


Thursday, August 11, 2016

What's Brewing #Craftwell #PinkandMain

It feels like Fall, doesn't it?  I mean, sure it's still Summer and in Southern California we are expecting temps in the triple digits, but the local craft stores have been ready for Fall since June.  So why not join them.


I gather up scraps from my favorite glitter paper, DCWV Glitzy Stack.  I used Pink and Main's scallop border dies. 


I then stamped the witch image from Witch Brew and used the coordinating die to cut out the image.

I cut my card base and embossed it an angle with the Love Triangles embossing folder.

 I layered the scallop borders, added a pom pom ribbon.  I had previously cut the Hello for a different project, but didn't use it, so it came in handy for this card.  Oh can see the beautiful Glitzy on the scallops?!  Love it! 


Is it too early to think of Halloween?  When do you start on your Fall crafts?
Thanks for visiting.


Tuesday, August 9, 2016

Celebrating Mom's Birthday #DCWV

This past weekend we celebrated my Mom's 78th Birthday!  Happy Birthday Mom!

I used The Blush Stack available at AC Moore to make her birthday banner and card.
I used my Cricut Explore to cut all the ornate fronts on pink card stock.  I used different pattern paper to cut the background panels.
The 2" circles were cut out of the gorgeous gold foil lace pattern paper.
I glued the panels and used Glue Dots to pop the 2" circles on the center of the each banner.

Feliz Cumple {Happy B-Day}

I added 2 rhinestones to each banner with Surebonder hot glue and strung the banner on jute.


Here is the birthday card.  I added a doily to the ornate panel, 2" circle and cut the sentiment "Happy Birthday".  Added lots of rhinestones and a strand of gold ribbon.


Here is my Mom, the birthday girl smizing for the camera.  My Mom is quite the character and she really worked the camera, but she asked me not to share the outtakes.  Trust me they were hilarious!
¡Feliz Cumpleaños Mom!

Sunday, August 7, 2016

Noel #TheCuttingCafe

 It's Christmas time! Nah, not really, but I'm sure looking forward to my favorite time of the year.  Today The Cutting Cafe Team is full of Christmas inspiration.  Please visit the blog to see all of them and visit the store for the various Christmas files available.

For my easy peasy project, I used DCWV Candy Cane Lane Stack.  This stack was from a couple of years ago. 


I used the Noel Shaped Card.  Super easy to assemble and mass produce.


I trimmed the "happy holidays" from a tag included in the paper stack, then embellished with enamel dots.  Super easy to make and I love it.

Thank you for visiting today.

Thursday, August 4, 2016

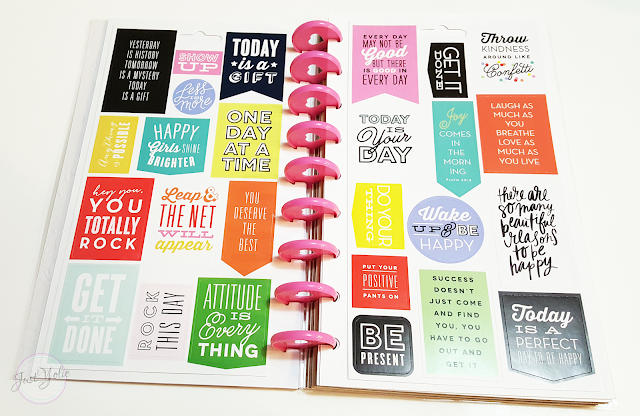
Planner Sticker Book #Craftwell

Hello and welcome, today I'm sharing a quick project, planner sticker book.
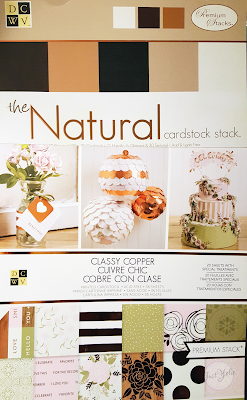
I used DCWV The Natural Stack and The Classy Copper Stack to make the sticker book. 


I trimmed the cardstock to 5"  x 9" to create the pages and trimmed the front and back cover 5 1/2" x 9".  I want the covers to be slightly wider so that the tabs I add later don't show past the cover.
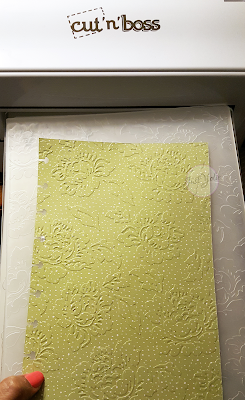
I then embossed the front cover with the Cabbage Rose embossing folder.

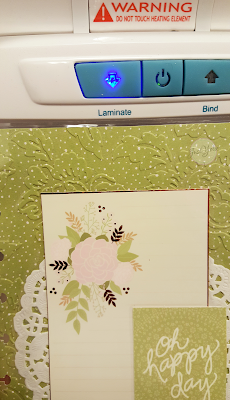
I added a couple of elements to the front cover and laminated the both covers.   Since I embossed the cover, I ran it through my vintage laminator a couple of times.

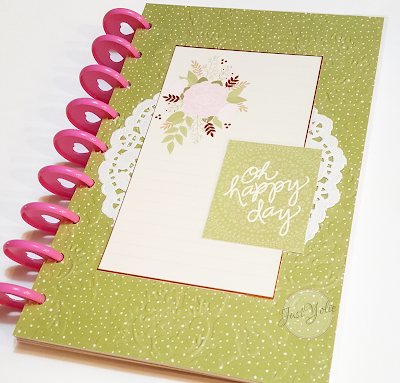
I added the disc binding and adhered a single sheet of planner stickers to the front and back side of each page.


I feel more organized now that my stickers are in one place and not floating around on my desk.


Thank you for stopping by today.